QuickBooks Error 1327 is a common issue that many users encounter when trying to install or update QuickBooks. This error typically indicates an invalid drive in the system, which can cause significant disruptions to your workflow. In this blog, we will delve into the causes of QuickBooks Error 1327 and provide detailed steps to resolve it.
Explore more: quickbooks error 6123 0
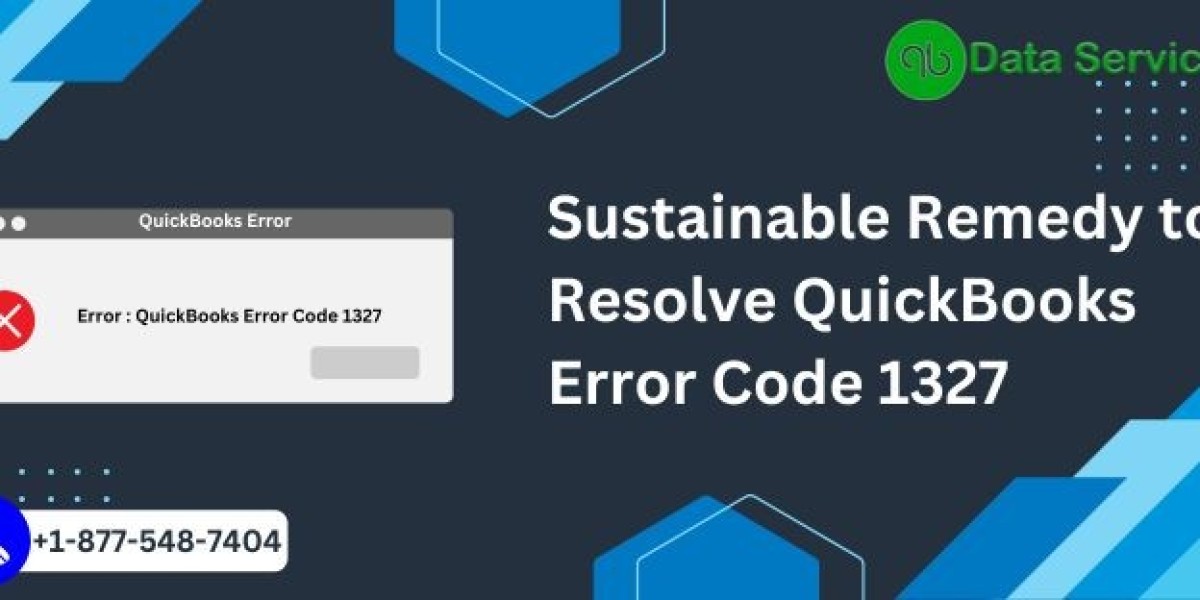
What is QuickBooks Error 1327?
QuickBooks Error 1327 usually appears with a message indicating an invalid drive, such as “Error 1327: Invalid Drive: [drive letter].” This error occurs when the installation or update process is unable to access the drive specified. This can be particularly frustrating as it halts the installation or update process, preventing you from using QuickBooks effectively.
Common Causes of QuickBooks Error 1327
1. Disconnected Network Drive
If the drive mentioned in the error message is a network drive that is no longer connected, QuickBooks will be unable to proceed with the installation or update.
2. External Drive Issues
External drives that have been removed or are not recognized by the system can also trigger this error.
3. Registry Issues
Incorrect or corrupted registry entries related to the drive paths can cause QuickBooks to display Error 1327.
4. Incorrect Drive Letter Assignment
If the drive letter has been changed or assigned incorrectly, QuickBooks may fail to recognize it during installation or update.
How to Fix QuickBooks Error 1327
1. Reconnect the Network Drive
If you were using a network drive, ensure it is properly connected and accessible.
Steps to Reconnect Network Drive:
- Open File Explorer.
- Click on "This PC" or "Computer" in the left pane.
- Select "Map network drive" from the top menu.
- Choose the appropriate drive letter and enter the network path.
- Click "Finish" and check if the drive is accessible.
2. Verify and Reconnect External Drives
Ensure any external drives are properly connected and recognized by the system.
Steps to Reconnect External Drives:
- Disconnect and reconnect the external drive.
- Ensure the drive appears in File Explorer.
- If the drive does not appear, try connecting it to a different USB port or another computer.
Find out more: qbmapi64 out of memory
3. Update Drive Letter Paths in the Registry
Updating the drive letter paths in the Windows registry can help resolve the error.
Warning: Editing the registry can be risky. It is recommended to back up your registry before making any changes.
Steps to Update Drive Letter Paths:
- Press
Win + R, typeregedit, and pressEnterto open the Registry Editor. - Navigate to the following paths and check for any incorrect drive letters:
HKEY_CURRENT_USER\Software\Microsoft\Windows\CurrentVersion\Explorer\Shell FoldersHKEY_LOCAL_MACHINE\Software\Microsoft\Windows\CurrentVersion\Explorer\Shell Folders
- If you find any incorrect drive letters, update them to the correct ones.
- Close the Registry Editor and restart your computer.
4. Change the Drive Letter
Changing the drive letter to match what QuickBooks expects can resolve the issue.
Steps to Change Drive Letter:
- Press
Win + Xand select "Disk Management." - Right-click on the drive you want to change and select "Change Drive Letter and Paths."
- Click "Change" and select the appropriate drive letter from the dropdown menu.
- Click "OK" and restart your computer.
5. Repair QuickBooks Installation
If the above steps do not resolve the issue, repairing the QuickBooks installation might help.
Steps to Repair QuickBooks Installation:
- Press
Win + R, typeappwiz.cpl, and pressEnterto open the Programs and Features window. - Find QuickBooks in the list of installed programs and select it.
- Click "Uninstall/Change" and then choose "Repair."
- Follow the on-screen instructions to complete the repair process.
Preventing QuickBooks Error 1327
1. Regular System Maintenance
Perform regular maintenance on your computer, including checking for and resolving any drive issues.
2. Backup Registry
Regularly back up your registry to prevent issues caused by incorrect or corrupted entries.
3. Stable Network Connections
Ensure your network connections are stable and properly configured, especially if you use network drives frequently.
4. Keep QuickBooks Updated
Always use the latest version of QuickBooks to benefit from bug fixes and improvements that can prevent errors like 1327.
Check out more: quickbooks hosting
Conclusion
QuickBooks Error 1327 can be a significant hindrance, but with the right steps, it can be resolved efficiently. By understanding the common causes and applying the appropriate solutions, you can ensure your QuickBooks installation or update proceeds smoothly. Regular maintenance and staying updated with the latest software versions are key to preventing such issues.
If you continue to experience problems or need further assistance, do not hesitate to contact our support team at +1-888-538-1314. Our experts are here to help you resolve any QuickBooks issues promptly.