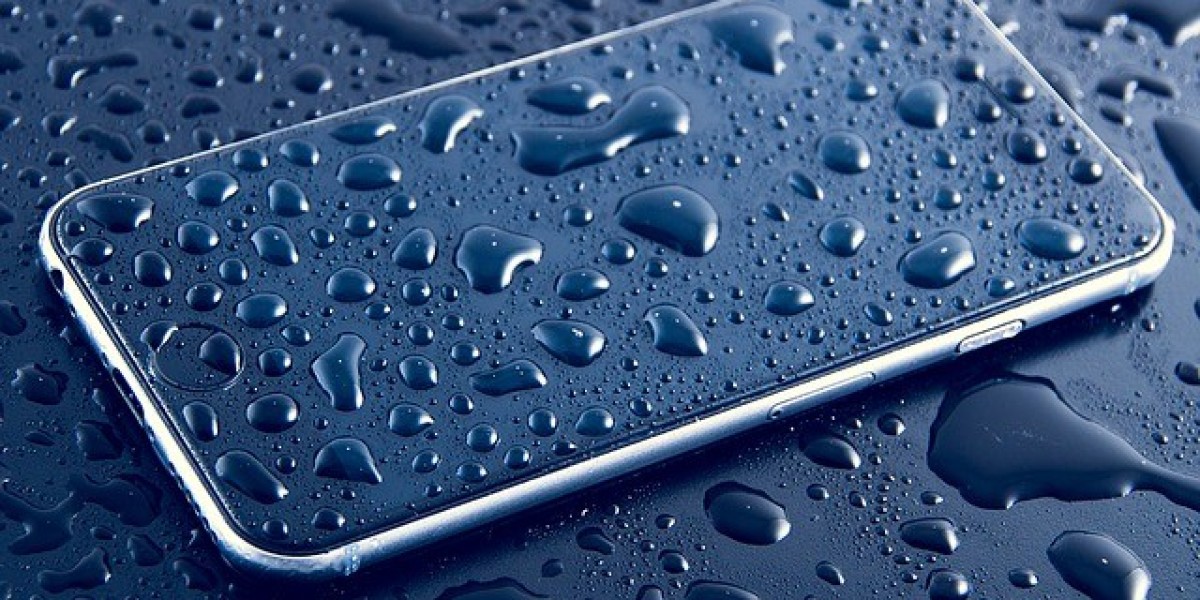
How to fix a water damaged phone, but prompt action can often save your phone from irreversible harm. Follow these steps to increase the chances of restoring your waterlogged phone to full functionality.
Step 1: Act Fast
Time is of the essence. The longer your phone stays submerged, the higher the likelihood of severe damage. Retrieve it from the water as quickly as possible.
Step 2: Power Off Immediately
Hold down the power button and turn off your phone. Avoid pressing any other buttons or trying to charge the device. This minimizes the risk of short circuits.
Step 3: Remove the Battery (if possible)
If your phone has a removable battery, take it out. This prevents any electrical flow and reduces the risk of shorting the circuits.
Step 4: Disassemble (if you're comfortable)
If you're familiar with your phone's internals and have the necessary tools, disassembling it can allow for better drying. Remove the SIM card, memory card, and any other removable components.
Step 5: Dry the Exterior
Use a lint-free cloth or paper towel to gently pat the outside of the phone. Be careful not to spread the water around.
Step 6: Shake Out Excess Water
Hold the phone with the ports facing down and give it a gentle shake to help remove any trapped water.
Step 7: Utilize a Desiccant
Place your phone and its disassembled components in a container filled with desiccant packets, like those found in packaging or purchased separately. Rice, silica gel, or instant oatmeal can also serve as desiccants.
Step 8: Keep in a Dry Environment
Seal the container with the desiccant packets and leave it in a dry place for at least 24-48 hours. This allows the desiccants to absorb any remaining moisture.
Step 9: Try a Vacuum Bag
If you don't have access to desiccants, you can try placing your phone in a vacuum-sealed bag with a few silica gel packets. The vacuum can help draw out moisture.
Step 10: Test the Phone
After a day or two, reassemble your phone, insert the battery, and power it on. Check for any signs of normal operation.
Step 11: Seek Professional Help
If your phone doesn't turn on or exhibits unusual behavior, consider taking it to a professional repair service. They have specialized equipment and expertise to diagnose and fix water damage.
Important Tips:
Avoid Heat Sources: Don't use a hair dryer, oven, or microwave to dry your phone. Excessive heat can cause further damage.
Don't Shake or Tap Vigorously: This can force water deeper into the device.
Avoid Freezing: Some suggest freezing a water-damaged phone, but this can cause more harm than good.
Preventative Measures: Consider investing in a waterproof phone case or pouch for future protection.
Conclusion: Salvaging Your Water-Damaged Phone
Swift action and a systematic approach can often save a water-damaged phone. However, it's essential to be cautious and patient throughout the process. If your phone doesn't recover, consult a professional technician who can assess and repair any potential damage. Remember, prevention is key, so take proactive measures to protect your phone from future water exposure.