Embroidery, a symphony of precision and artistry, relies heavily on the delicate dance of thread tension within an embroidery machine. Achieving the perfect thread tension is akin to finding the sweet spot in a musical performance – it results in harmonious, flawless stitches that elevate your embroidery projects. In this comprehensive guide, we'll unravel the intricacies of thread tension, exploring its significance, factors influencing it, and steps to achieve the best thread tension for an embroidery machine.
I. Introduction
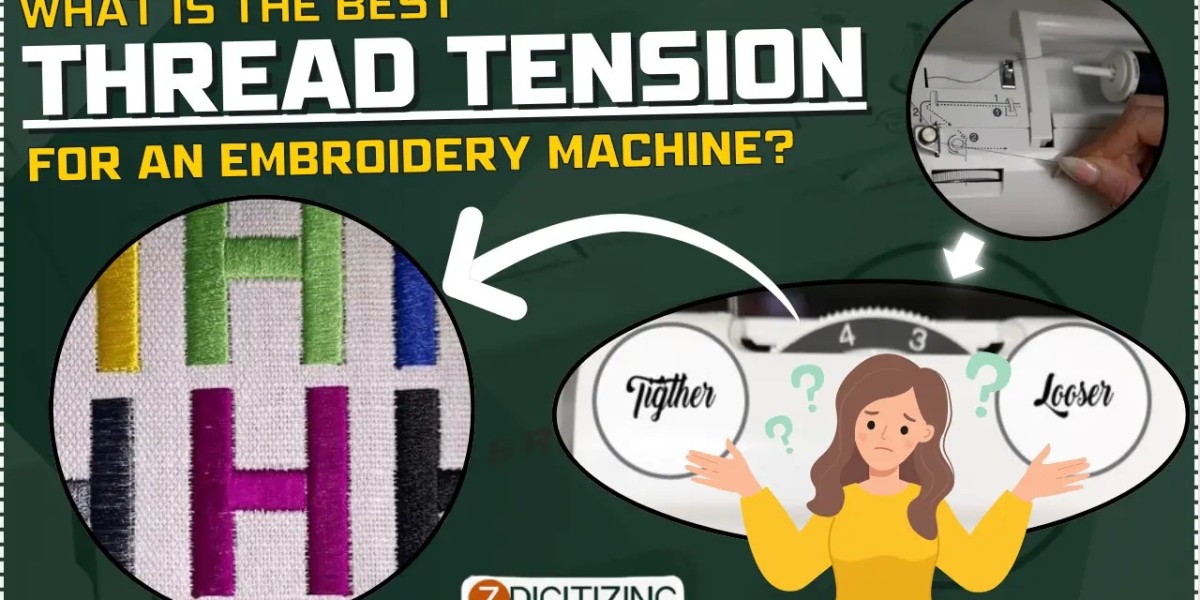
Thread tension is a critical factor in the embroidery process, determining the quality and appearance of stitched designs. It involves finding the right balance between the upper and lower threads, ensuring that stitches are neither too tight nor too loose. Achieving optimal thread tension is an art that requires understanding the nuances of your embroidery machine, the type of fabric used, and the specific requirements of your project.
II. Significance of Thread Tension
A. Stitch Quality:
Thread tension directly impacts the quality of stitches. Proper tension results in even, well-defined stitches, while incorrect tension can lead to issues such as thread breakage, puckering, or uneven stitches.
B. Fabric Compatibility:
Different fabrics require best embroidery thread tensions. Adapting the tension to suit the fabric type ensures that the embroidery appears crisp and professional, regardless of the material being used.
C. Preventing Thread Issues:
Correct tension minimizes the likelihood of thread-related issues such as thread breakage, bird nesting, and looping. Consistent tension contributes to a smoother embroidery process.
III. Factors Influencing Thread Tension
Understanding the factors that influence thread tension is crucial for making adjustments based on the specific requirements of each embroidery project. The key factors include:
A. Thread Type and Thickness:
Different threads have varying thicknesses, and adjusting tension based on the type of thread being used is essential. Thicker threads may require looser tension to prevent breakage, while finer threads may need slightly tighter tension for optimal stitch formation.
B. Fabric Type and Weight:
The fabric's weight and thickness play a significant role in determining the ideal thread tension. Heavier fabrics may require looser tension to accommodate the thickness, while lighter fabrics may benefit from slightly tighter tension for precise stitches.
C. Bobbin Tension:
The tension of the bobbin thread must complement the upper thread tension. Imbalances between upper and lower thread tensions can result in stitching issues. Bobbin tension adjustments may be necessary when changing thread types or fabrics.
D. Machine Speed:
Embroidery machine speed influences thread tension. Higher speeds can impact tension, especially with finer threads. Adjusting tension settings based on machine speed ensures consistent stitch quality.
E. Needle Size and Condition:
The needle's size and condition are critical factors. A damaged or dull needle can lead to tension issues. Using the correct needle size for the thread and fabric, and regularly changing needles, contributes to optimal tension.
F. Best Embroidery Thread:
Free embroidery software provides a cost-effective and accessible avenue for individuals eager to delve into the art of embroidery digitizing. Ideal for beginners and hobbyists, embroidery software for mac often comes with user-friendly interfaces and online tutorials, making the learning curve more manageable.
IV. Steps to Achieve the Best Thread Tension
A. Begin with a Tension Test:
Before starting a new project, conduct a tension test. Use the same thread and fabric you'll be using for the project, and observe the stitch quality. Make adjustments based on the test results.
B. Refer to Machine Manual:
Consult your embroidery machine's manual for specific guidelines on adjusting thread tension. Manufacturers often provide recommendations for different thread types and fabrics.
C. Make Incremental Adjustments:
When tweaking thread tension, make small, incremental adjustments. This allows for gradual fine-tuning without making drastic changes that could result in other issues.
D. Test on Scrap Fabric:
When making tension adjustments, test on scrap fabric before embroidering your actual project. This allows you to assess the impact of the changes and ensures that the final result meets your quality standards.
E. Monitor Stitch Formation:
Pay close attention to stitch formation during embroidery. If stitches appear uneven, puckered, or if thread breakage occurs, it may indicate a need for further tension adjustments.
V. Troubleshooting Common Thread Tension Issues
A. Loose Upper Thread:
If the upper thread is too loose, tighten the tension by adjusting the tension dial or digital settings. Gradually increase tension until stitches appear even and secure.
B. Tight Upper Thread:
For excessively tight upper thread, loosen the tension by turning the tension dial or adjusting digital settings. Make incremental adjustments until the stitches achieve the desired appearance.
C. Bobbin Thread Showing on Top:
If the bobbin thread is visible on the top of the embroidery, the upper tension may be too tight. Loosen the tension gradually until the bobbin thread is no longer visible.
D. Bird Nesting and Looping:
Bird nesting, where threads form a tangled mess on the underside of the fabric, and looping on the top surface may indicate imbalances between upper and lower thread tensions. Adjust both upper and bobbin tensions as needed.
VI. Conclusion
Mastering the art of achieving the best thread tension for an embroidery machine is a journey of understanding, experimentation, and precision. By considering factors such as thread type, fabric weight, bobbin tension, machine speed, and needle condition, you can fine-tune tension settings to create flawless, professional-looking embroidery.
As you embark on your embroidery projects, view the calibration of thread tension as an integral part of the creative process. With a keen eye for detail, the ability to troubleshoot common issues, and a commitment to ongoing experimentation, you'll unlock the full potential of your embroidery machine, producing impeccable stitches that bring your designs to life.
FAQs
Why is thread tension important in embroidery? Thread tension is crucial in embroidery as it directly influences stitch quality, fabric compatibility, and the prevention of thread-related issues. Proper tension ensures even, well-defined stitches and minimizes problems like breakage, puckering, and looping.
What factors influence thread tension in embroidery?
- Thread Type and Thickness
- Fabric Type and Weight
- Bobbin Tension
- Machine Speed
- Needle Size and Condition
How can I achieve the best thread tension for my embroidery machine?
- Begin with a tension test using the same thread and fabric.
- Refer to the machine manual for specific guidelines.
- Make incremental adjustments to tension.
- Test adjustments on scrap fabric before starting the actual project.
- Monitor stitch formation during embroidery.
What are common thread tension issues and how can they be troubleshooted?
- Loose Upper Thread: Tighten the tension gradually.
- Tight Upper Thread: Loosen the tension gradually.
- Bobbin Thread Showing on Top: Loosen the upper tension until the bobbin thread is no longer visible.
- Bird Nesting and Looping: Adjust both upper and bobbin tensions as needed.