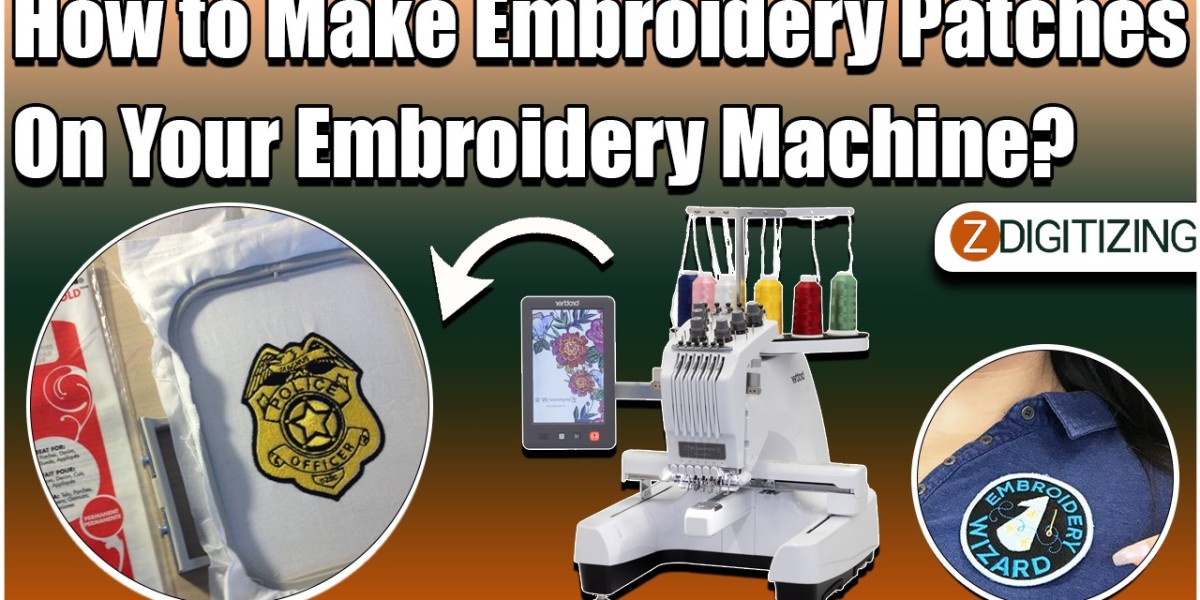
Embroidery enthusiasts, get ready to level up your stitching game! In this comprehensive guide, we'll walk you through the step-by-step process of creating embroidery patches right on your own embroidery machine. From choosing the right materials to digitizing your designs, we've got you covered. So, let's dive in and unlock the secrets to making stunning embroidery patches with ease!
Step 1: Gather Your Materials:
Before you begin, make sure you have all the necessary materials on hand. You'll need:
- Fabric for the patches (such as felt or twill)
- Embroidery thread in your desired colors
- Stabilizer appropriate for your fabric
- Embroidery hoop
- Scissors
- Iron-on adhesive (optional)
Step 2: Choose Your Design:
Select the design you want to embroider onto your patches. This could be a simple shape, a logo, or a custom design of your own creation. Keep in mind the size and complexity of your design, as intricate designs may require more time and precision to stitch.
Step 3: Prepare Your Fabric:
Cut your fabric into pieces slightly larger than the desired size of your patches. If you're using iron-on adhesive, apply it to the back of the fabric according to the manufacturer's instructions. This will help stabilize the fabric and prevent fraying during the embroidery digitizing process.
Step 4: Hoop Your Fabric:
Place your fabric and stabilizer in the embroidery hoop, making sure the fabric is taut and smooth. Tighten the hoop securely to hold the fabric in place, ensuring it won't shift or bunch up during stitching.
Step 5: Digitize Your Design:
Now it's time to digitize your design using embroidery digitizing software. If you're new to digitizing, there are plenty of tutorials and resources available online to help you get started. Once your design is digitized, transfer it to your embroidery machine using a USB drive or other compatible method.
Step 6: Stitch Your Design:
Load your digitized design into your embroidery machine and adjust the settings as needed. Start the machine and watch as it brings your design to life with precision stitching. Be sure to monitor the stitching process to ensure everything is going smoothly.
Step 7: Trim and Finish:
Once the stitching is complete, carefully remove the fabric from the hoop and trim away any excess stabilizer. Cut around the edges of your patches to create clean, finished edges. If you're using iron-on adhesive, follow the manufacturer's instructions to attach the patches to your desired surface.
Embroidery Digitizing Companies: Your Partner in Creativity:
When it comes to embroidery digitizing, partnering with the right company like zdigitizing can make all the difference. These companies specialize in transforming artwork into digital stitch files, ensuring precise and accurate embroidery results every time. Whether you're a seasoned pro or just starting out, working with a digitizing company can help you bring your creative visions to life with ease.
Conclusion: Unlock Your Creative Potential with Embroidery Patches:
In conclusion, making embroidery patches on your embroidery machine is a fun and rewarding way to unleash your creativity. With the right materials, tools, and techniques, you can create custom patches that are perfect for personalizing clothing, accessories, and more. So why wait? Get stitching and start making your own embroidery patches today!
FAQs About Making Embroidery Patches:
1. Can I use any fabric for making embroidery patches?
While you can technically use any fabric for making embroidery patches, it's best to choose a sturdy fabric like felt or twill that can withstand the stitching process without stretching or distorting.
2. Do I need special software to digitize my designs?
Yes, you'll need embroidery digitizing software to convert your designs into digital stitch files that your embroidery machine can interpret. There are many different software options available, ranging from beginner-friendly to advanced.
3. Can I outsource embroidery digitizing to a professional company?
Absolutely! If you're not comfortable digitizing your own designs, you can always outsource the job to a professional digitizing company. These companies specialize in transforming artwork into digital stitch files, ensuring precise and accurate stitching every time.


