A well-maintained pool is a joy to have, but over time, wear and tear can lead to cracked or broken tiles. Addressing these issues promptly is crucial to maintaining the aesthetic appeal and functionality of your pool. In this article, we'll guide you through the process of repairing pool tiles, from identifying the problem to completing the repair.
Introduction
Owning a pool is a luxury, but it also comes with responsibilities. Over time, pool tiles can crack or break, diminishing the beauty and safety of your pool. Fixing these issues might seem daunting, but with the right tools and knowledge, you can do it yourself. In this guide, we'll walk you through the steps of pool tile repair, helping you restore your pool to its former glory.
Why Pool Tiles Crack
Understanding why pool tiles crack can help you prevent future damage. Several factors can contribute to this issue.
Temperature Changes
Fluctuations in temperature can cause the materials in your pool to expand and contract, leading to cracks in the tiles. This is especially common in regions with extreme weather changes.
Improper Installation
If the tiles were not installed correctly initially, they might not adhere well, making them prone to cracking and breaking over time.
Water Chemistry
Incorrect water chemistry can weaken the adhesive used to hold the tiles in place, causing them to become loose and crack.
Identifying Damaged Pool Tiles
Before you start any repair work, it's crucial to identify which tiles need attention. Look for the following signs:
Visible Cracks
Cracks in the tiles are often easy to spot. They can range from small hairline fractures to large, noticeable splits.
Loose Tiles
If you notice tiles that move or feel loose when you touch them, they need to be replaced.
Missing Tiles
Missing tiles are a clear indication that repairs are necessary. They not only look unsightly but can also pose a safety risk.
Tools and Materials Needed for Repair
Gathering the right tools and materials before starting your repair project will make the process smoother and more efficient.
Essential Tools
Chisel and hammer
Tile cutter
Notched trowel
Grout float
Sponge
Bucket
Materials
Replacement tiles
Tile adhesive
Grout
Tile sealer
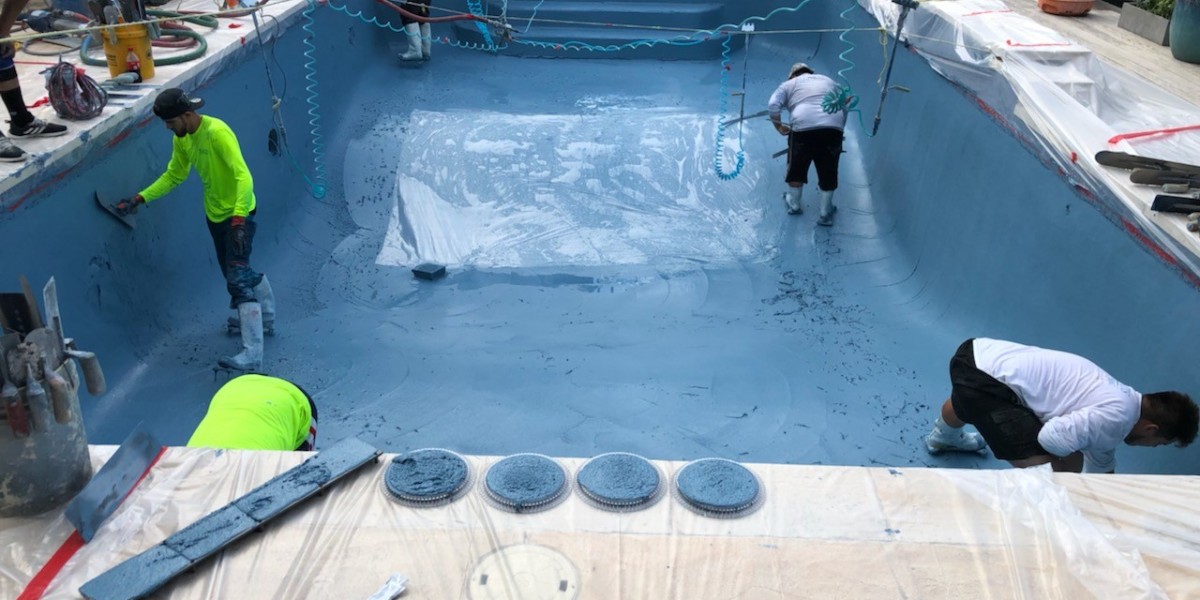
Preparing for the Repair
Preparation is key to a successful tile repair. Follow these steps to get ready:
Drain the Pool
Depending on the location of the damaged tiles, you might need to drain the pool to expose the area fully.
Clean the Area
Remove any debris, dirt, or old adhesive from the area where the tiles will be replaced. This ensures a clean surface for the new tiles to adhere to.
Removing the Damaged Tiles
Removing the damaged tiles carefully is crucial to avoid causing further damage to the surrounding tiles.
Use a Chisel and Hammer
Gently tap the chisel with the hammer to loosen the damaged tiles. Be careful not to apply too much force, which could damage adjacent tiles.
Clean the Surface
Once the damaged tiles are removed, clean the surface thoroughly to remove any remaining adhesive or debris.
Applying New Adhesive
Applying the right amount of adhesive is essential for securing the new tiles in place.
Spread the Adhesive
Use a notched trowel to spread a thin, even layer of adhesive over the prepared surface. Make sure the adhesive covers the entire area where the new tile will be placed.
Check for Evenness
Ensure the adhesive is evenly spread to avoid any lumps or uneven areas that could affect the placement of the tiles.
Installing the New Tiles
Placing the new tiles correctly ensures a seamless look and a strong bond.
Position the Tiles
Carefully place the new tiles onto the adhesive, pressing them firmly into place. Make sure they are aligned properly with the surrounding tiles.
Allow to Set
Let the adhesive set for the recommended time specified by the manufacturer before proceeding to the next step.
Grouting the Tiles
Grouting fills the gaps between the tiles and adds stability to the overall structure.
Mix the Grout
Follow the manufacturer's instructions to mix the grout to the right consistency.
Apply the Grout
Use a grout float to apply the grout between the tiles. Make sure to fill all the gaps completely.
Clean Excess Grout
Wipe off any excess grout from the surface of the tiles with a damp sponge before it dries.
Sealing the Tiles
Sealing the tiles helps protect them from water damage and extends their lifespan.
Apply Tile Sealer
Once the grout has dried completely, apply a tile sealer to the surface of the tiles and grout lines. Follow the instructions on the sealer for the best results.
Allow to Dry
Let the sealer dry completely before refilling the pool with water.
Tips for Preventing Future Damage
Taking proactive measures can help prevent future tile damage.
Regular Maintenance
Regularly inspect your pool tiles for signs of damage and address any issues promptly.
Monitor Water Chemistry
Keep your pool water's pH and chlorine levels balanced to avoid damaging the tiles and adhesive.
Protect Against Temperature Extremes
If you live in an area with extreme temperature changes, consider using a pool cover to protect the tiles.
Maintaining Your Pool Tiles
Proper maintenance is key to keeping your pool tiles in good condition.
Regular Cleaning
Clean your pool tiles regularly to prevent the buildup of algae and debris, which can cause damage over time.
Address Issues Quickly
Fix any cracks or loose tiles as soon as you notice them to prevent further damage.
When to Call a Professional
While many tile repairs can be done yourself, there are times when it’s best to call in a professional.
Extensive Damage
If a large area of tiles is damaged, or if the damage extends beyond the tiles (such as to the pool’s structure), professional help is advisable.
Complex Repairs
If the repair seems too complex or if you’re unsure about any step, it’s best to consult a professional to avoid causing further damage.
Conclusion
Repairing pool tiles might seem like a daunting task, but with the right tools, materials, and knowledge, it’s a manageable project. By following the steps outlined in this guide, you can restore the beauty and functionality of your pool, ensuring it remains a safe and enjoyable space for you and your family. Regular maintenance and prompt attention to any damage will keep your pool looking great for years to come.