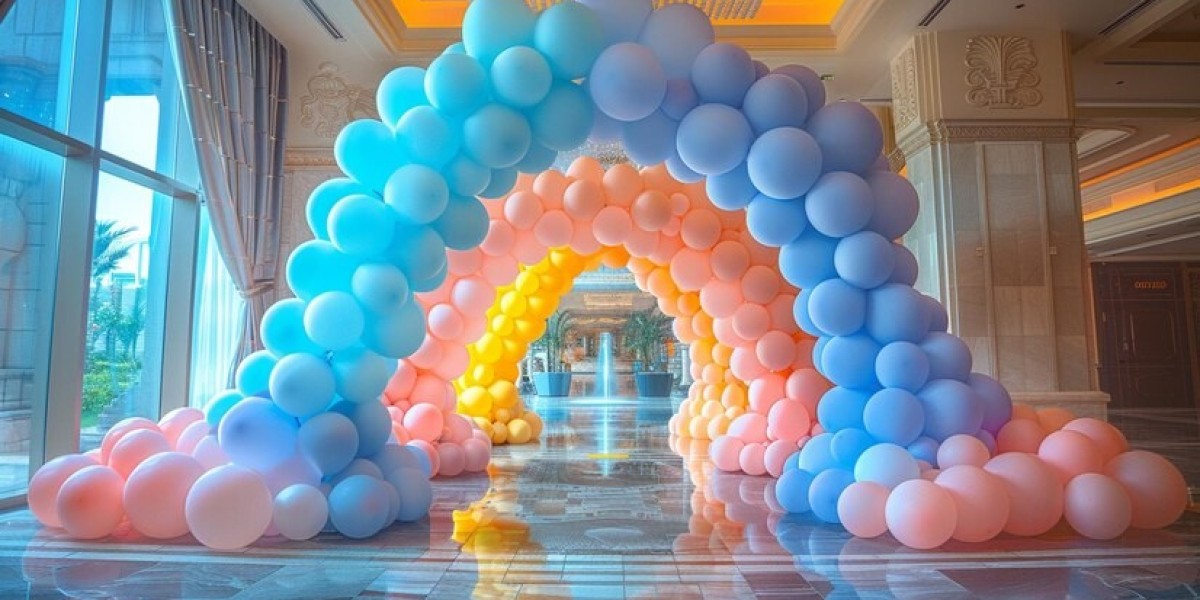
Balloon arches are the perfect way to add a festive touch to any event. Whether it's a birthday, wedding, or corporate event, balloon arches create a visually stunning centerpiece that captivates guests. In this guide, we'll take you through the process of creating beautiful balloon arches step by step. Let's dive into the world of balloon arches and make your event unforgettable!
Step 1: Gather Your Supplies
Before you begin creating your balloon arches, gather all the necessary supplies. You'll need balloons in your chosen colors, a balloon pump, fishing line or a balloon arch kit, and strong tape or hooks for securing the arch in place.
Step 2: Plan Your Design
Decide on the shape and size of your balloon arches. You can opt for a classic arch, a half arch, or even a unique shape that suits your event theme. Sketch out your design to have a clear idea of what you want to achieve.
Step 3: Inflate the Balloons
Using a balloon pump, inflate the balloons to the desired size. Make sure to tie each balloon securely to prevent air from escaping. For a more professional look, use balloons of varying sizes to create depth and texture in your balloon arches.
Step 4: Assemble the Arch
Start assembling your balloon arches by tying the balloons to the fishing line or the frame provided in your balloon arch kit. Begin from one end and work your way to the other, ensuring the balloons are evenly spaced and tightly secured.
Step 5: Add Personal Touches
Enhance your balloon arches by adding personalised balloons Singapore offers. These personalised balloons can include names, messages, or even custom designs that match your event theme. Simply incorporate them into your arch for an extra special touch.
Step 6: Secure the Arch
Once your balloon arches are complete, it's time to secure them in place. Use strong tape or hooks to attach the arch to a wall, doorway, or any other desired location. Ensure it is stable and won't easily topple over during your event.
Step 7: Final Adjustments
Make any final adjustments to your balloon arches to ensure they look perfect. Check for gaps, uneven spacing, or any balloons that may need to be repositioned. Take a step back and admire your work!
Conclusion
Creating stunning balloon arches doesn't have to be complicated. With the right supplies, a bit of creativity, and our step-by-step guide, you can craft beautiful balloon arches that will wow your guests. Don't forget to add personalised balloons Singapore to make your arch truly unique. Happy decorating!