Wavlink wifi 6 router Setup
Are you ready to unleash the full potential of your internet connection with the Wavlink WiFi 6 Router Setup? Setting up this advanced router is a breeze, and in just a few simple steps, you'll be enjoying lightning-fast speeds and seamless connectivity. Let's dive into the setup process to get you up and running in no time.
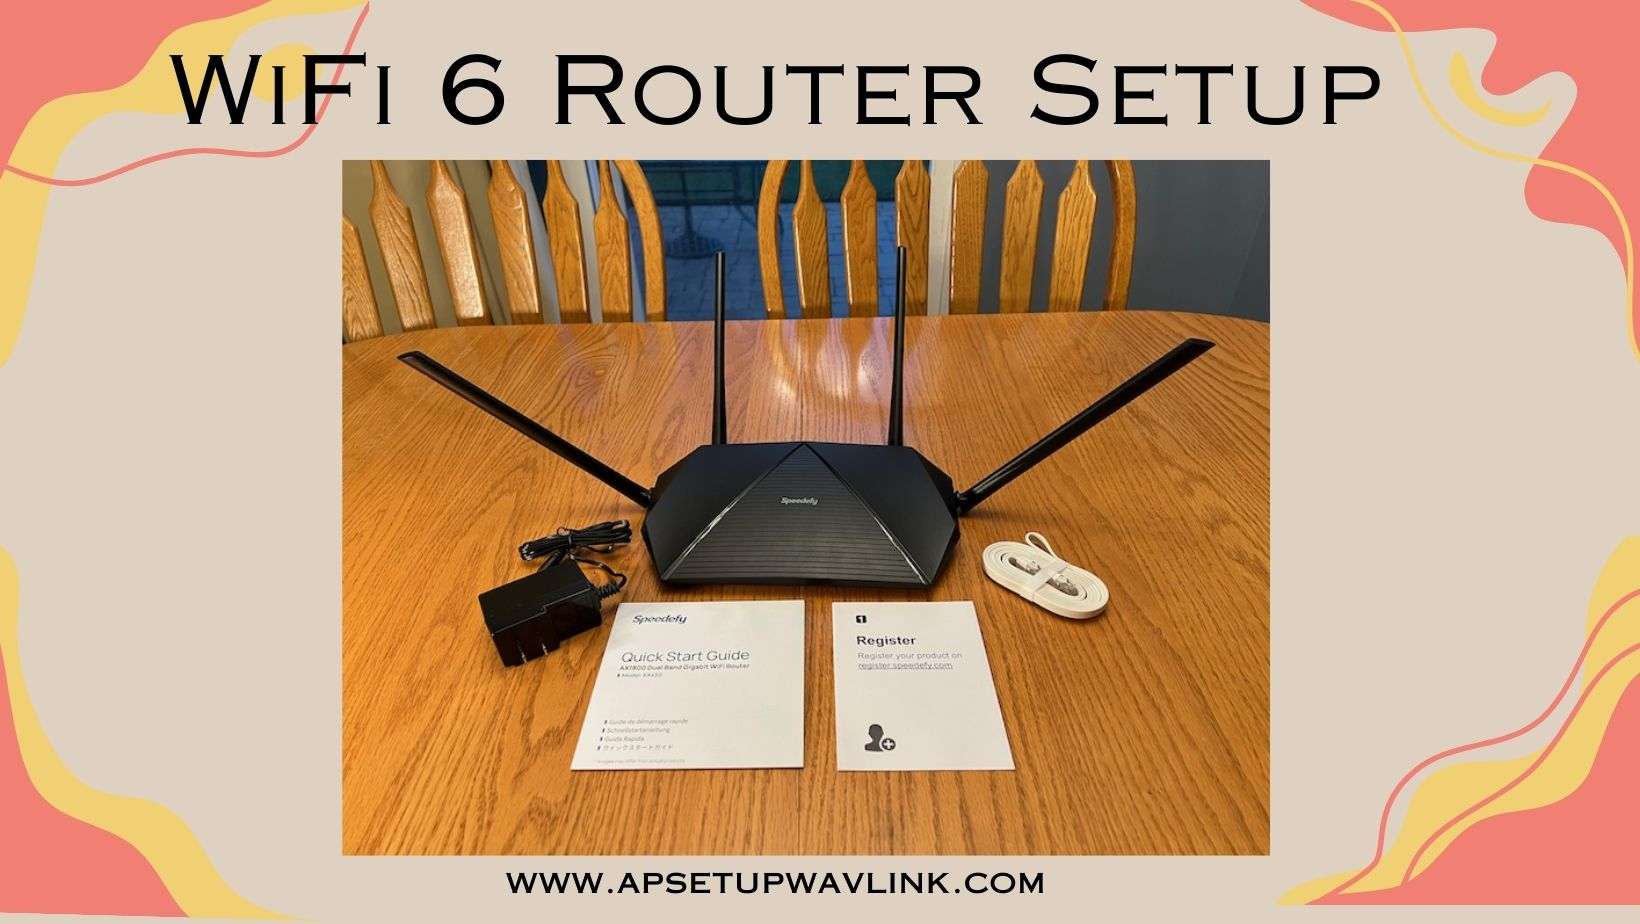
Step 1: Unboxing and Inspection
Start by carefully unboxing your Wavlink WiFi 6 Router and ensuring all components are present. You should have the router itself, a power adapter, Ethernet cable, and any accompanying do****entation.
Step 2: Positioning Your Router
Choose a central location in your home or office to position your router. Ensure it is placed away from obstructions such as walls or furniture for optimal signal strength.
Step 3: Powering Up the Router
Connect the power adapter to your Wavlink WiFi 6 Router and plug it into a power outlet. The router will power on, and you'll see LED lights indicating its status.
Step 4: Connecting to Your Modem
Using the provided Ethernet cable, connect one end to the WAN port on your router and the other end to your modem. This establishes the connection between your router and the internet.
Step 5: Accessing the Router Interface
Open a web browser on your computer or mobile device and enter the default IP address of your Wavlink WiFi 6 Router in the address bar. This will take you to the router's login page.
Step 6: Configuring Your WiFi Settings
Log in to the router's interface using the default username and p****word (found in the user manual or on the router itself). Navigate to the wireless settings section to customize your WiFi network name (SSID) and p****word.
Step 7: Finalizing Setup
After configuring your WiFi settings, save your changes and wait for the router to apply them. Once applied, disconnect the Ethernet cable from your modem and router.
Step 8: Enjoying High-Speed Internet
Congratulations! Your Wavlink WiFi 6 Router is now set up and ready to provide you with blazing-fast internet speeds and reliable connectivity. Say goodbye to lag and buffering and ****o to a seamless online experience.
Upgrade to the Wavlink WiFi 6 Router today and take your internet connection to the next level!